Using a REST Trigger in Oracle Integration Cloud
Using a REST Trigger in Oracle Integration Cloud
Using a REST Trigger
Rest triggers for OIC orchestrations are fairly generic. The configuration for them is very generic. You name them and define an authorization technique. So, most of the configuration is done within the orchestration itself. In this post, we'll walk through a simple orchestration that uses a REST Trigger and passes some information back to the user.
The first step is to create a REST trigger, which is detailed in this previous blog post. Once that is done, navigate to the Integration area.
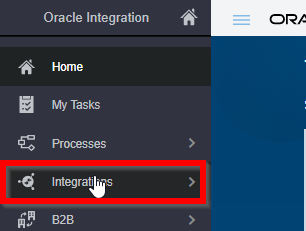
From there you will want to select Integrations and select the Create button
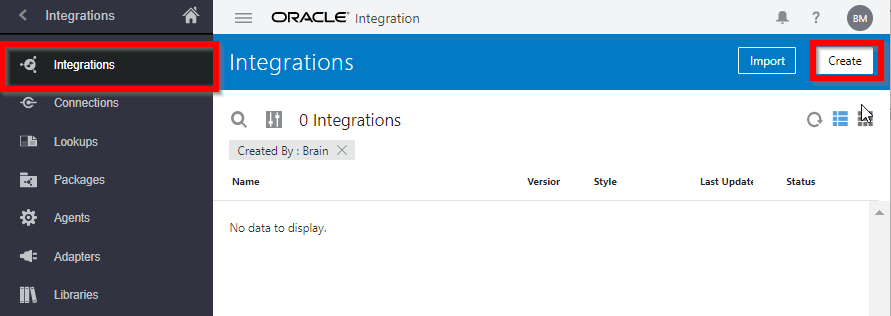
Select An app driven Orchestration
Enter anything in the 3 required fields and click create
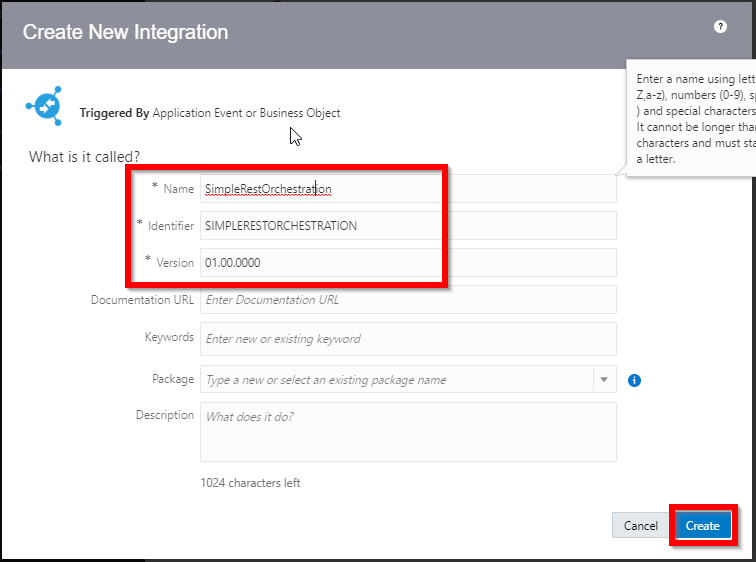
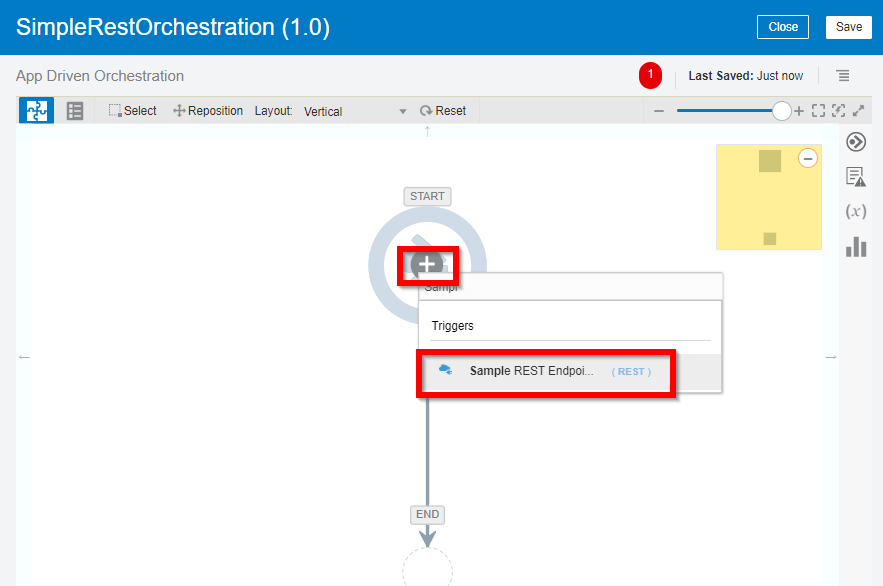
This will open the designer pallet, where you will need to click on the start option and select the REST trigger
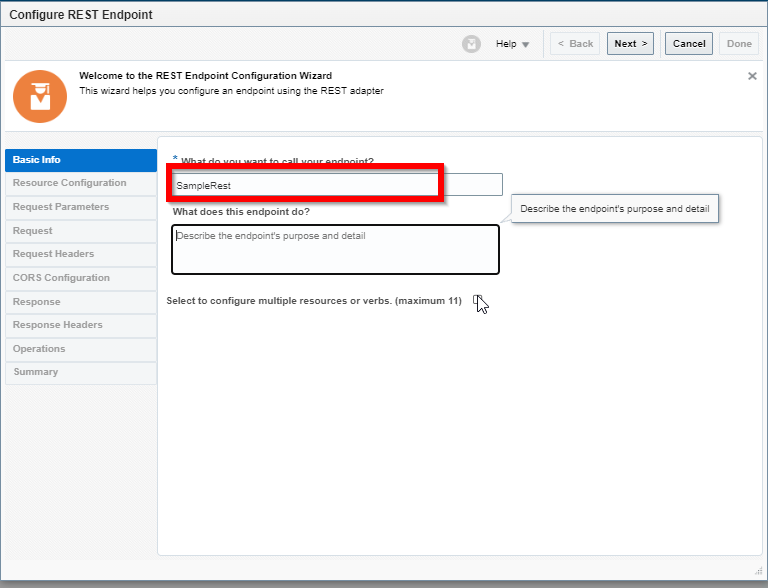
That will open a dialogue box where, for this example, we can enter the bare minimum, which is a name for the endpoing
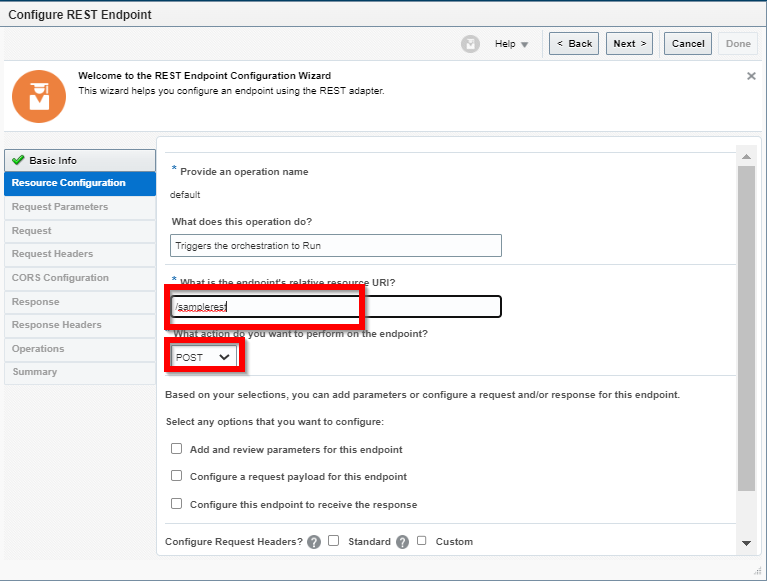
And then enter the relative URI and the action - in this case we want to create a POST action. Do not click on any of the other check boxes, we're keeping this simple
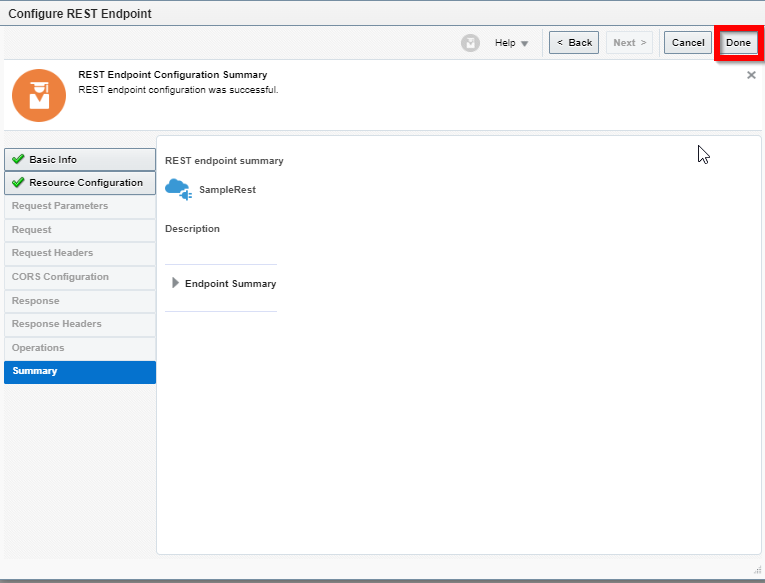
And then finally click done.
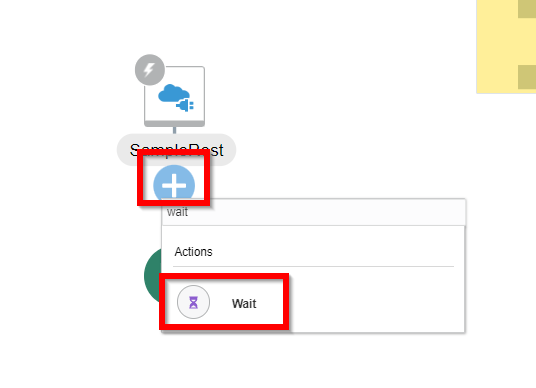
Now, we want don't want to do anything else, we just want to have the orchestration wait for 5 minutes then end, so we click on the plus sign and select a wait action
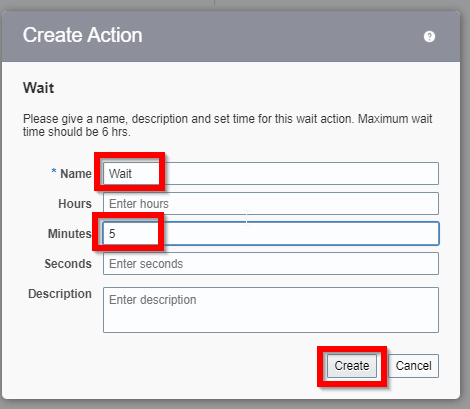
And then configure it to wait 5 minutes and click create
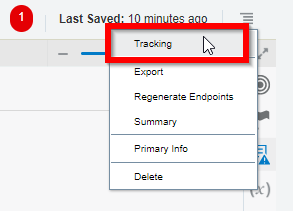
As always, make sure to set up tracking, which is required
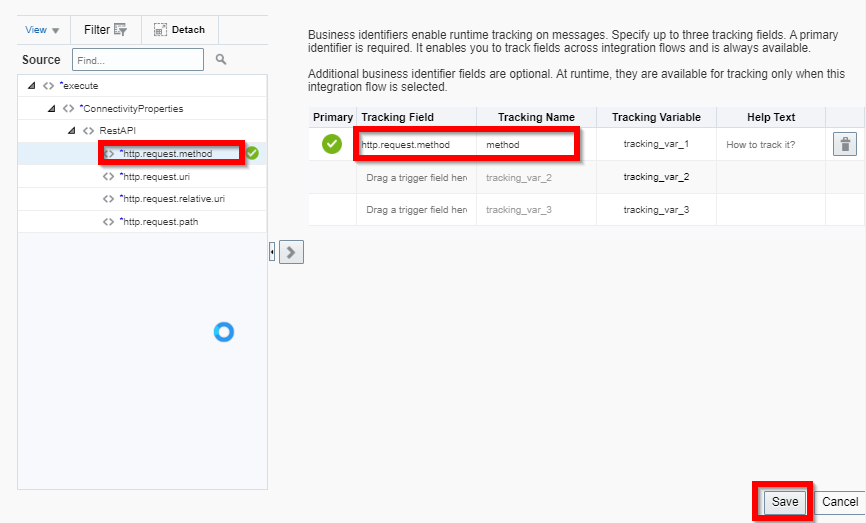
Then save and close the integration

Now we want to activate that orchestration

Make sure to enable tracing and the payload, and asserter recording if you want, and click activate
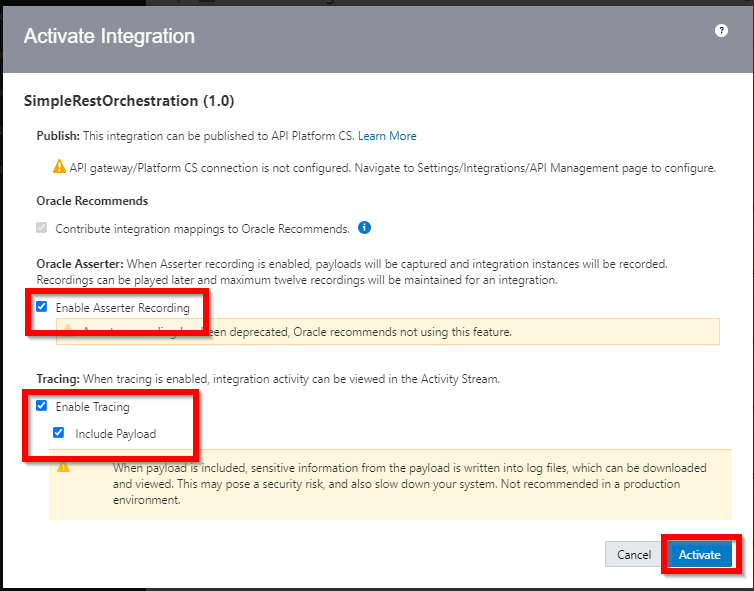
That should take a few seconds, and now, you can get to the page that tells you how to run this orchestration

Copy the link seen below. Notice a few things here. The end of the API
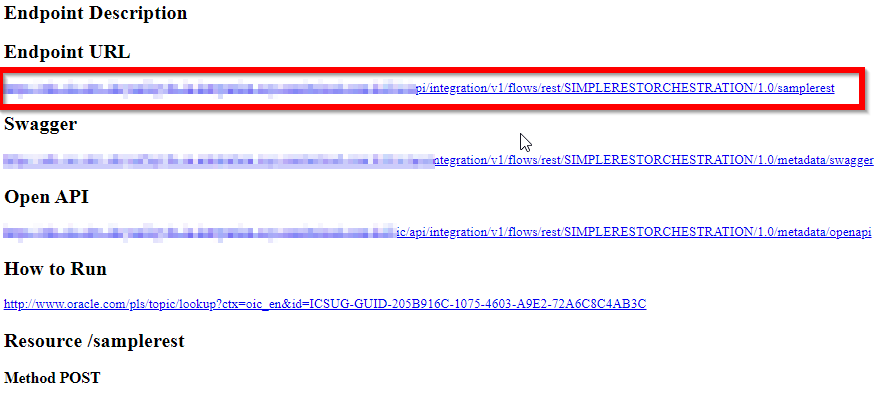
Paste that into a tool like postman, and
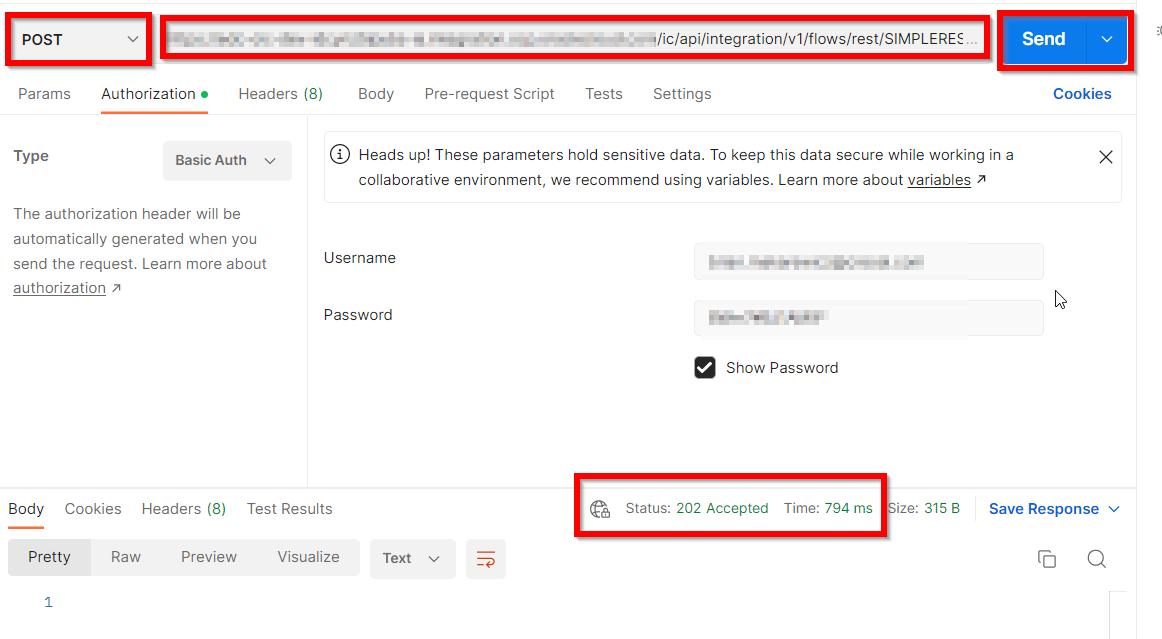
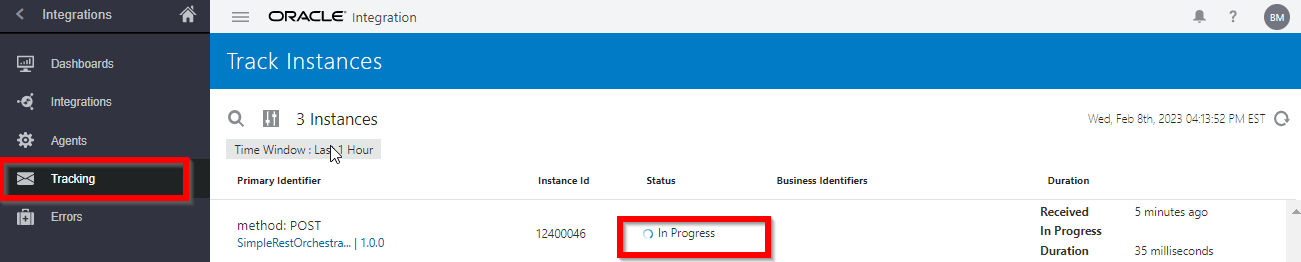
Now, if you go to monitor this instance of the orchestration, select monitoring > integrations > tracking in the main menu, you'll see that this is still in progress. Even though the web service in the previous screenshot returned a response in 794 milliseconds. That was because you chose the PUT action and did not return any response. That is an important point to note. When you run a GET or respond to a PUT with any response payload, the orchestration will run synchronously, but PUT and POST can run asynchronously, as long as you do not define a response. I'll cover those types of integration and passing data into an integration in later posts.